Demonstrating Math, Diagrams and Graphs Online

The rapid transition to remote teaching provided an opportunity to rethink the way we deliver content. If you were an instructor of a math course or a math-based course, you probably would have had to address how to effectively demonstrate step by step calculations, drawing diagrams and graphs online. One of the challenges with remote teaching is being able to effectively teach or demonstrate material that consists of equations, diagrams and graphs. This page will provide various techniques on how to share mathematical calculations, draw diagrams and graph data.

Contact life@miami.edu if you have any questions related to the approaches discussed.

How to Share Mathematical Calculations

Using a Webcam, Paper or Whiteboard


Materials Needed

How to Implement

  • Launch a scheduled Zoom or Collaborate session from your desktop. 
  • Prepare to share your webcam.
  • Check your Zoom video settings to make sure your screen is not backwards or mirrored. (Blackboard Collaborate Ultra is already set up so this does not happen.
  • Make sure the room is well lit so students can see what you share on screen.
  • Hold up the notepad to the webcam through each math calculation/step and explain the process. 
  • Invite students to respond to or ask questions through the Zoom chat feature or by unmuting their microphone.

Recommended Teaching Strategies

Pre-record your process (highly recommended) or use during a live session.

  • Live session using conferencing tool: During the live session we recommend that you pause in between steps so students can better follow along and ask questions. Make sure writing is legible for readability and to reduce cognitive load. Focus more of your questions on the transfer of knowledge to new situations (applicability). 
  • Recorded video: If recording an instructional video breakdown the content into meaningful chunks of no more than 10 minutes long. Keep video length to 10 minutes or less. This may mean dividing up the problem into chunks. Show the problem at the beginning and draw your students attention to the important details of the problem. Articulate your reasoning for doing each step clearly.

Using Slide-Deck and a Word Processor


Materials Needed

  • Slide presentation software (Microsoft Powerpoint, Keynote, Google Slides)
  • Word processsing software (Microsoft Word, Google Docs)
  • Video conferencing tool such as Zoom or Blackboard Collaborate
  • Notepad & Pen/Pencil

How to Implement

Recommended Teaching Strategies

  • Live session using conferencing tool: Have students follow along with written out steps and Powerpoint slides either in-class or on their own time. Make sure that you explain your steps in detail and that your photos are of good quality (lighting, non-blurry, close-up, etc.). Make use of the animation feature to show steps one at a time and not all at once.
  • Recorded video: If recording an instructional video breakdown the content into meaningful chunks of no more than 10 minutes long. Keep video length to 10 minutes or less. This may mean dividing up the problem into chunks. Show the problem at the beginning and draw your students attention to the important details of the problem. Articulate your reasoning for doing each step clearly.

Using a DIY Document Camera


Materials Needed

  • Cell phone
  • Something to elevate your cell phone such as a box OR something to hold the cell phone in place (like a Gooseneck holder or tripod)
  • Video conferencing tool such as Zoom or Blackboard Collaborate
  • Notepad & Pen/Pencil

How to Implement

How to record written math solutions (YouTube)
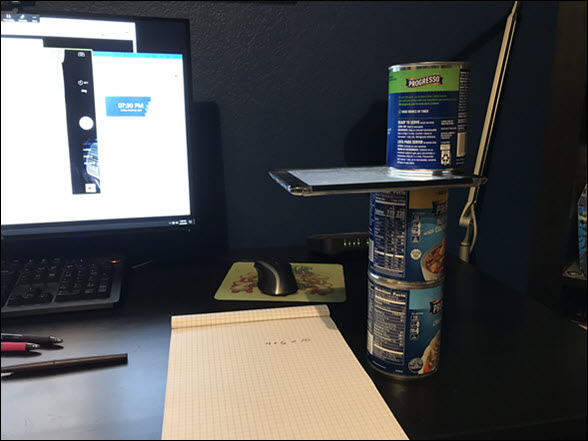
Desk showing a makeshift document camera consisting of 3 soup cans and an iPad. The soup cans are stacked and the iPad is placed between the top two cans with the camera aligned over a notepad.

How to make an improvised document camera using Zoom and your iPhone or iPad (University of Nevada, Reno)


Recommended Teaching Strategies

You can record videos either in-class time via Zoom or prior to class. You can upload the video to Blackboard so students can access it at any time.

  • Live session using conferencing tool: Launch a scheduled Zoom session from your desktop, Download the iOS/Android app for Zoom. Launch without logging in. Within the mobile app, click ‘Join Meeting’ and enter in the meeting ID, screen name and ‘Join.’ Place your phone in landscape mode. Attach your phone to a Gooseneck phone holder or a tripod and move over your notepad. Mute your audio on your phone and disable mobile notifications. On your phone, click the ‘Start Video’ and then flip the camera to activate the rear-facing camera. Pin this video for all students to review.
  • Recorded video:If you are going to pre-record your video here are some tips: Keep video length to 10 minutes or less. This may mean dividing up the problem into chunks.Show the problem at the beginning and draw your students attention to the important details of the problem.Articulate your reasoning for doing each step clearly.OptionalYou can purchase document cameras via Amazon.

Using a Graphics / Pen Tablet


Materials Needed

  • Graphics or pen tablet such as Wacom tablet with stylus
  • Zoom or Blackboard Collaborate
  • Optional: Power Point or Google Slides

How to Implement

How to teach online with a Wacom tablet

Recommended Teaching Strategies

Pre-record your process (highly recommended) or use during a live session.

  • Live session using conferencing tool: During the live session we recommend that you pause in between steps so students can better follow along and ask questions. Focus more of your questions on the transfer of knowledge to new situations (applicability).
  • Recorded video: If recording an instructional video breakdown the content into meaningful chunks of no more than 10 minutes long. Keep video length to 10 minutes or less. This may mean dividing up the problem into chunks. Show the problem at the beginning and draw your students attention to the important details of the problem. Articulate your reasoning for doing each step clearly.

How to Share Diagrams Online

Using a Webcam, Paper or Whiteboard


 Materials Needed

  • Webcam
  • Video conferencing tool such as Zoom or Blackboard Collaborate
  • Notepad & Pen/Pencil
  • Optional: Whiteboard 7 Markers

How to Implement

You can set up the dry erase board on the wall and use the webcam to capture your teaching, which will be shared on Zoom or Blackboard Collaborate Ultra. You can also use Zoom or Collaborate to create a pre-recorded video and post in Blackboard and/or show during the live session. Showing the prerecorded video during the live session or asking your students to watch the video prior to class can save some time during the live session. 

  • Set up your whiteboard in front of your webcam and computer.
  • Open Zoom and start a session

Video Tutorial

Recommended Teaching Strategies

  • Live session using conferencing tool: During the live session we recommend that you pause in between steps so students can better follow along and ask questions. Make sure writing is legible for readability and to reduce cognitive load. Focus more of your questions on the transfer of knowledge to new situations (applicability). 
  • Recorded video: If recording an instructional video breakdown the content into meaningful chunks of no more than 10 minutes long. Keep video length to 10 minutes or less. This may mean dividing up the problem into chunks. Show the problem at the beginning and draw your students attention to the important details of the problem. Articulate your reasoning for doing each step clearly.

Using Microsoft OneNote, Sketchbook or any Drawing App


Materials Needed

  • Drawing tablet with stylus
  • Zoom or Blackboard Collaborate
  • Drawing application such as Microsoft OneNote, Sketchbook
  • Optional: Screen recording tool to capture tutorial videos

How to Implement

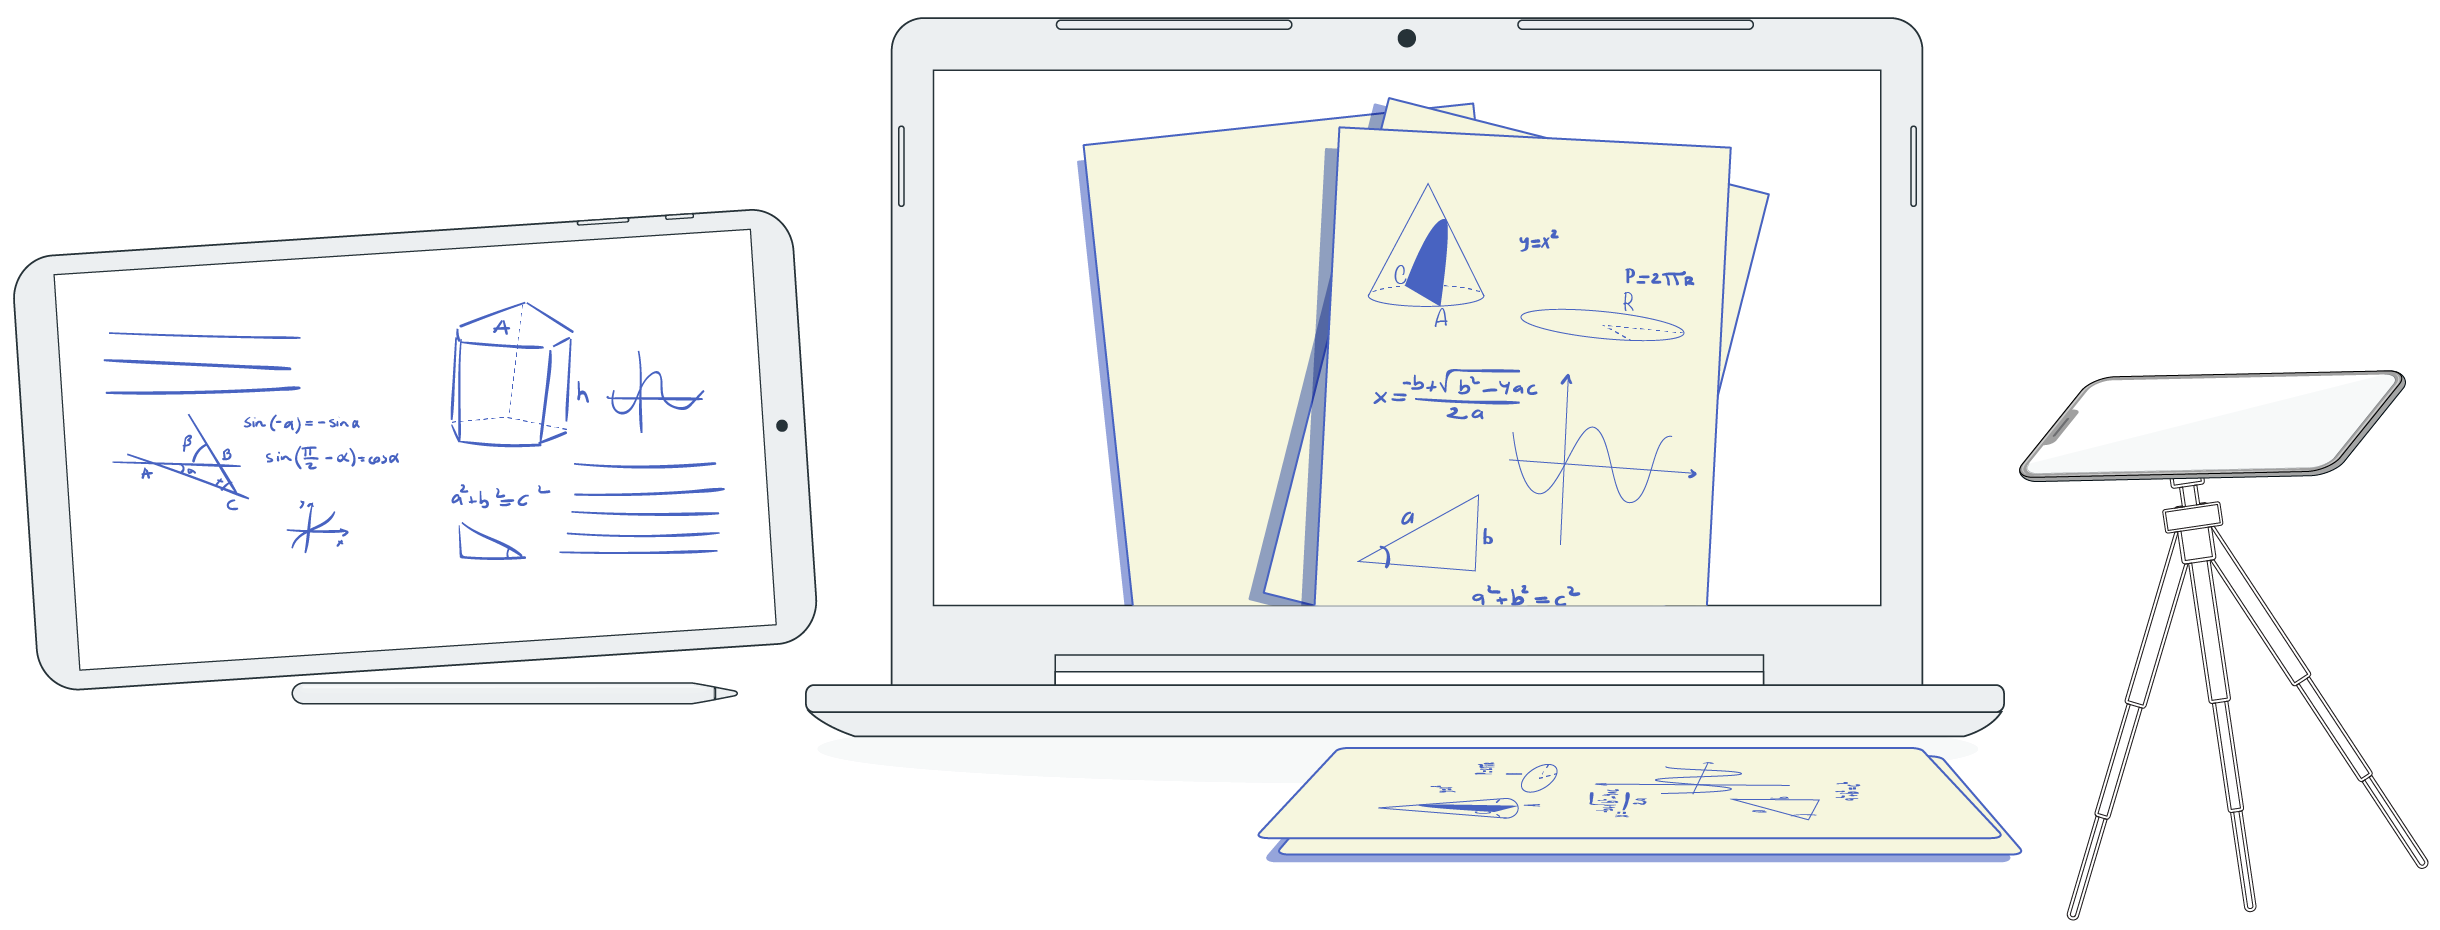
You can use tools such as OneNote, Sketchbook that have drawing capabilities to show diagrams. Using a drawing tablet may require the download of software. Make sure to download prior to use. Access Zoom Tutorial or Access Blackboard Tutorial to learn more about the set up.

  • Connect drawing tablet to your computer
  • Open drawing application 
  • Start your session in Zoom or Collaborate
  • Share your screen
  • Start drawing

Recommended Teaching Strategies

You can use this during live teaching sessions or for prerecorded instructional videos.

  • Live session using conferencing tool: Make sure that your drawing is legible. This will improve readability and reduce cognitive load. 
  • Recorded video: If recording an instructional video breakdown the content into meaningful chunks of no more than 10 minutes long. Keep video length to 10 minutes or less. This may mean dividing up the problem into chunks. Show the problem at the beginning and draw your students attention to the important details of the problem. Articulate your reasoning for doing each step clearly.
Using a USB Document Camera


Materials Needed

  • USB document camera
  • Zoom or Blackboard Collaborate Ultra
  • Paper

How to Implement

  • You can use a document camera to capture a blank paper. You can capture the camera’s output on your computer using Zoom or Collaborate.
  • Once you have connected your document camera, select the video output within your conferencing tool.
  • You may wish to review the guidance from your USB document camera's guide e.g. IPEVO's.

How to Use a Document Camera to Show Diagrams and Calculations.

Recommended Teaching Strategies

You can record videos either in-class time via Zoom or prior to class. You can upload the video to Blackboard so students can access it at any time.

  • Live session using conferencing tool: Launch a scheduled session from your desktop, ensure you have set your webcam/video to the video output from the USB document camera. Also, make sure what you are showing to the screen is not backwards/mirrored. This might mean having to change your video settings. (Blackboard Collaborate Ultra is already set up so this does not happen). During the live session we recommend that you pause in between steps so students can better follow.
  • Recorded video: If you are going to pre-record your video here are some tips: Keep video length to 10 minutes or less. This may mean dividing up the problem into chunks. Show the problem at the beginning and draw your students attention to the important details of the problem.Articulate your reasoning for doing each step clearly.OptionalYou can purchase document cameras via Amazon.

How to Share Data on Graphs Online

Using a Webcam, Paper or Whiteboard


Materials Needed

How to Implement

  • If you have a webcam, you can continue to use paper to demonstrate problems, but leverage the webcam as a way to share your process. 
  • For example, you can easily hold up the paper to the webcam through each step, or have the webcam angled at a wall that has a large piece of paper/whiteboard where you are writing the steps.

Recommended Teaching Strategies

  • You can do this during a live training session or pre-record your process. It is recommended to pause in between steps so students can better follow along or ask questions. 
  • Also, make sure what you are showing to the screen is not backwards/mirrored. This might mean having to change your video settings. (Blackboard Collaborate Ultra is already set up so this does not happen).

Using Online/Digital Graphing Tools


Materials Needed

Using a Webcam, Paper or Whiteboard

  • Desmos and Geogebra are online graphing platforms that can be used to demonstrate the process of a problem. They include various features such as a 3D calculator, playable animations, and creating assignments online. Existing tools like Matlab used by students may also be used to demonstrate the process of solving a problem.
  • Distance Learning with GeoGebra 
  • Desmos, Coronavirus, and You

Suggested Teaching Strategy

  • Instructors and students may require initial training before use, depending on the application of the tool. Training can be achieved by self-paced tutorials and existing activities that are built within the application. 
  • For demonstration purposes, screen-recording the process using the digital tools is one method. 
  • Alternatively, assigning students activities that invite students to use these tools within their own problem-solving can help them visualize and solve potential solutions through a digital medium.

Top